Table of Contents
Introduction
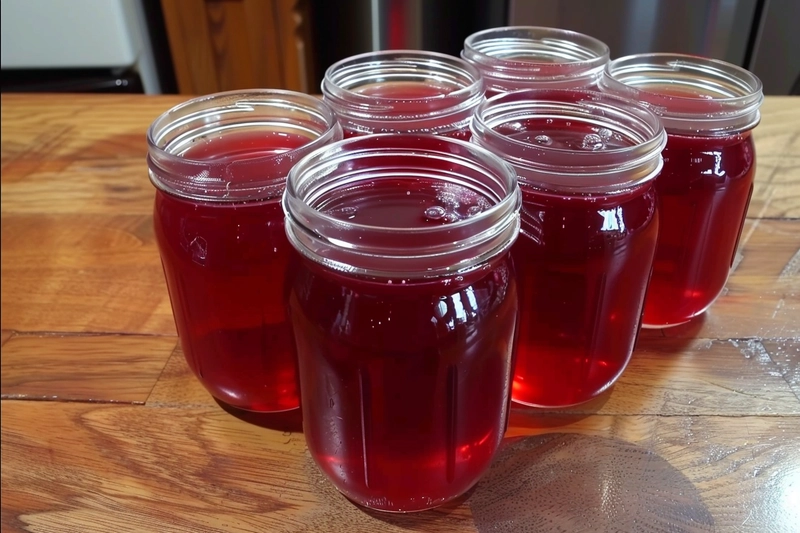
There’s something deeply satisfying about homemade jelly. The rich, jewel-toned colors, the sweet-tart flavor that lingers on your tongue, and the pride of spreading your own creation onto warm toast make it an irresistible kitchen project. Today, I’m excited to share my go-to Plum Jelly Recipe — a recipe I’ve refined over the years through trial and error, and plenty of laughs in the kitchen. If you’re a fan of homemade preserves, this plum jelly recipe is sure to become your new favorite.
My Journey with Plum Jelly: From Sticky Disasters to Perfection
My first attempt at making plum jelly was, well… unforgettable. Determined to recreate my grandmother’s famous recipe, I went all in. I bought a mountain of plums, chopped them up, and enthusiastically started cooking.
What I didn’t realize at the time was that I had skipped adding pectin. Instead of thick, glossy jelly, I ended up with a syrupy plum sauce that I desperately tried to convince my friends was intentional. Spoiler alert: It wasn’t.
After several more attempts — including one time where I managed to glue my spoon to the counter with hardened jelly — I finally found the perfect balance. Through patience (and some deep-cleaning sessions), I discovered the key to great plum jelly lies in:
- Balancing sweetness and tartness
- Choosing the right plums
- Never skipping the pectin!
One of my favorite memories was when I made a big batch for my friend Olivia’s brunch party. The guests raved about it, and Olivia ended up hiding a jar in her pantry to keep for herself. That’s when I knew I had something special.
Why You’ll Love This Plum Jelly Recipe
This plum jelly recipe is packed with flavor and incredibly versatile. Here’s why I (and so many others) love it:
- Rich Flavor: The balance of sweet plums and tangy lemon juice creates a beautifully rounded taste.
- Vibrant Color: The deep ruby hue makes it as pretty as it is delicious.
- Versatility: It’s perfect on toast, as a glaze for roasted meats, or even as a sweet layer in thumbprint cookies.
- Perfect for Gifting: A beautifully labeled jar of homemade plum jelly makes an ideal holiday gift.
Have you ever made homemade jelly before? What’s your favorite way to enjoy it?
Ingredients for the Perfect Plum Jelly Recipe
- 4 lbs fresh plums (pitted and quartered)
- 5 cups granulated sugar
- 2 tbsp lemon juice (freshly squeezed)
- 1 packet (3 oz) liquid pectin
- 1 cinnamon stick (optional)
- 1 vanilla bean, split (optional for added flavor)
Step-by-Step Instructions for Making Plum Jelly
Step 1: Prepare the Plums
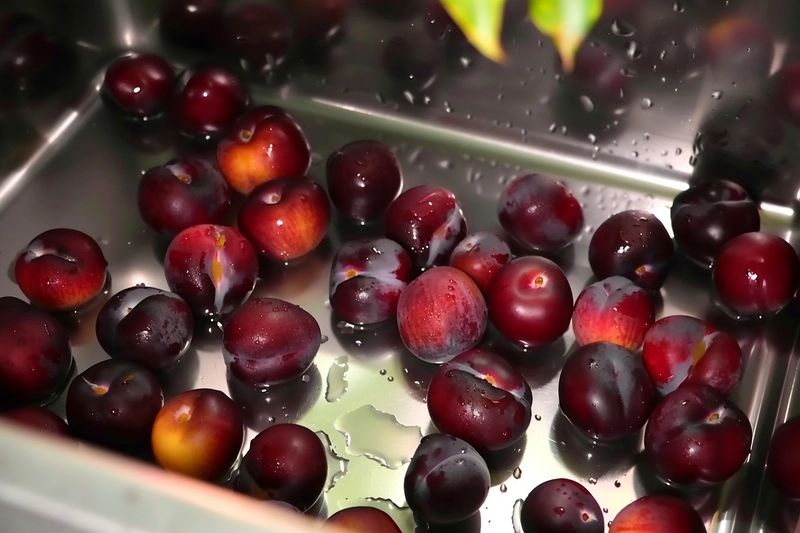
Wash the plums thoroughly and pit them. Cut them into quarters to speed up cooking.
Step 2: Cook the Plums
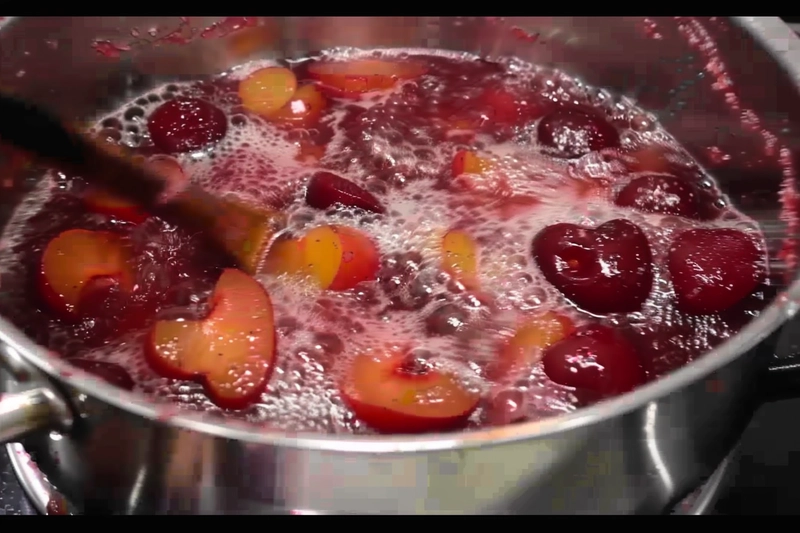
Place the plums, sugar, and lemon juice in a large, heavy-bottomed pot. If you’re using a cinnamon stick or vanilla bean, add them now for a deeper flavor. Bring the mixture to a gentle simmer over medium heat, stirring frequently to prevent sticking. Cook for 20-30 minutes until the plums are softened and release their juices.
Step 3: Strain the Plum Mixture
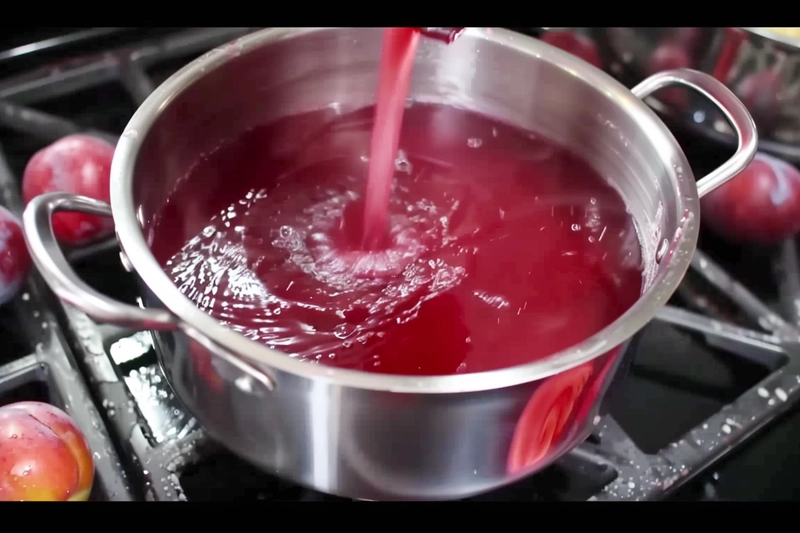
Pour the softened plums through a fine-mesh sieve or cheesecloth into a large bowl to separate the juice from the solids. Press the plums with a spoon to extract as much juice as possible. Discard the solids.
Step 4: Boil the Plum Juice
Return the strained juice to the pot and bring it to a rolling boil. Stir in the liquid pectin and boil for 1-2 minutes, stirring constantly.
Step 5: Skim and Jar
Skim off any foam that rises to the surface. Carefully ladle the hot jelly into sterilized jars, leaving 1/4 inch headspace. Wipe the rims clean, then seal the jars with lids and rings.
Step 6: Water Bath Process
To ensure safe storage, process the filled jars in a boiling water bath for 10 minutes. Once processed, let the jars cool completely before storing.
Step 7: Enjoy!
Let the jelly set overnight before enjoying. Spread generously on toast, scones, or pancakes, and savor the sweet-tart perfection.
Stories from Those Who Love This Plum Jelly Recipe
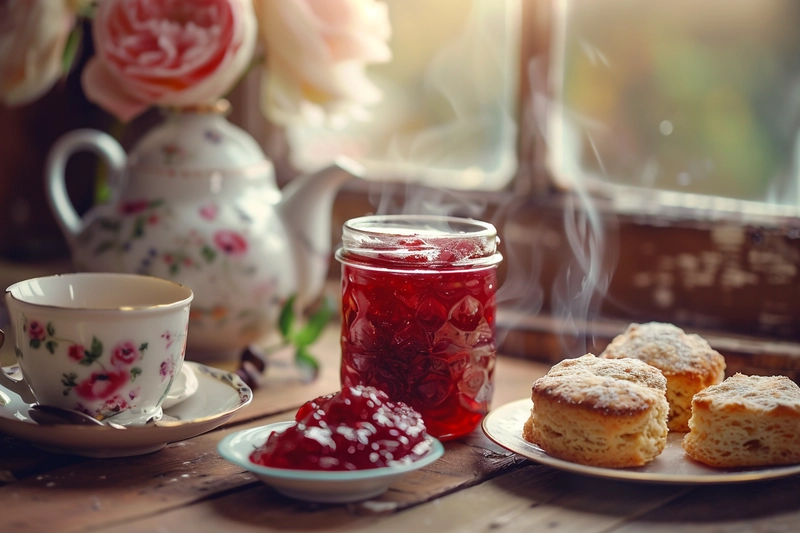
Aunt Carol’s Tea Party Delight: Aunt Carol swears this plum jelly is the highlight of her afternoon tea parties. She likes to add a hint of cinnamon, which gives the jelly a warm, spiced flavor that pairs beautifully with her buttery scones.
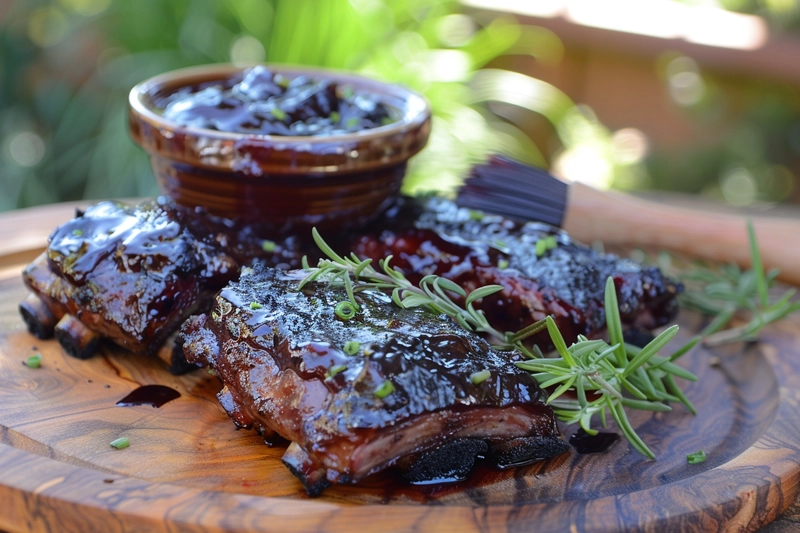
Sam’s BBQ Glaze Surprise: My neighbor Sam once used this plum jelly as a glaze for BBQ ribs. The sweet-tart combination created a caramelized coating that his family still raves about.
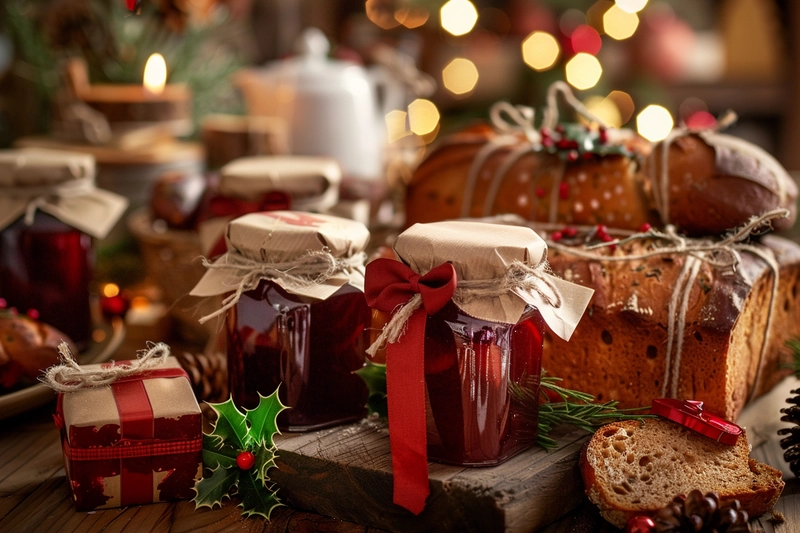
Helen’s Christmas Gift Tradition: My loyal reader Helen told me she makes this plum jelly recipe every December. She gifts jars of it alongside homemade bread to her neighbors, making her the most popular person on her street during the holidays.
Serving Suggestions
- Spread on warm buttered toast or English muffins.
- Drizzle over vanilla ice cream for a fruity punch.
- Use as a sweet glaze for pork chops, roasted chicken, or turkey.
- Fill thumbprint cookies for a festive treat.
- Stir into Greek yogurt for a fruity breakfast twist.
Twists and Variations
- Add a splash of balsamic vinegar for richer depth.
- Stir in grated ginger for a warm, spicy kick.
- Replace some of the sugar with honey for a delicate floral note.
- Mix in crushed raspberries for a vibrant berry fusion.
Mistakes and Tips
- Common Mistake: Overcooking the jelly, resulting in a thick, gummy texture.
Solution: Use a candy thermometer to ensure it reaches exactly 220°F (105°C).
- Common Mistake: Skipping the water bath, risking spoilage.
Solution: Always process the jars properly for long-term storage.
- Pro Tip: Adding a touch of vanilla bean enhances the jelly’s aroma and flavor.
Frequently Asked Questions
Q1: Can I use frozen plums instead of fresh?
Yes, just thaw them before cooking.
Q2: How can I tell if my jelly has set properly?
Place a spoonful on a cold plate — if it wrinkles when pushed, it’s ready.
Q3: How long does homemade plum jelly last?
Sealed jars can last up to a year; refrigerate opened jars for 3-4 weeks.
Q4: Can I reduce the sugar in this recipe?
Yes, but reducing sugar may affect the jelly’s set and shelf life.
Q5: What’s the best way to fix jelly that didn’t set?
Reheat the jelly, add additional pectin, and boil again for 1-2 minutes.
Closing
There’s something magical about turning fresh plums into a glossy, jewel-toned jelly that you can enjoy for months to come. Whether you spread it on toast or gift it to friends and family, this plum jelly recipe is sure to become a cherished staple in your kitchen.
Have you tried making homemade jelly before? What’s your favorite fruit to turn into jam or jelly?
I’d love to hear your thoughts, stories, and variations in the comments below.
Happy cooking, and may your kitchen always be filled with warmth and flavor!

